Table of Contents
How to Upgrade Light Switches for a Designer Look: A Step-by-Step Guide

Megan Reed |
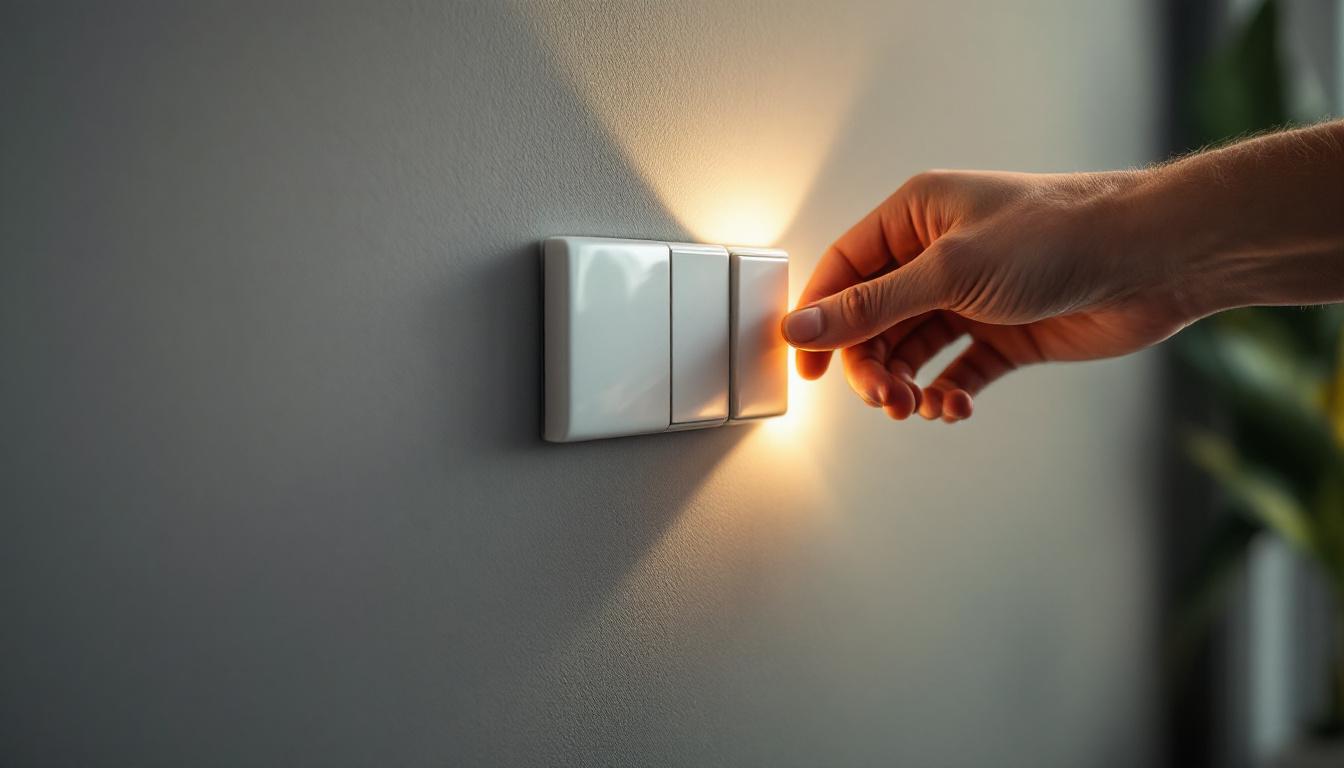
Upgrading light switches might not seem like a big deal, but it can make a surprisingly huge difference in the overall vibe of your space. Think about it: those little switches are often overlooked, yet they’re right there, front and center. They can either blend into the background or stand out as a stylish feature. If you’re ready to elevate your home’s aesthetics, let’s dive into how to transform those plain switches into designer-worthy accents.
Why Upgrade Your Light Switches?
First off, let’s chat about why this upgrade is worth your time. Light switches are like the unsung heroes of home design. They’re functional, sure, but they can also be a design statement. Swapping out basic switches for something more stylish can add character and sophistication to your rooms.
Imagine walking into a beautifully designed space, and your eyes are drawn to the elegant details—like a stunning light switch that complements the overall decor. It’s these little touches that create a cohesive look and feel. Plus, upgrading your switches can be a fun DIY project that enhances your home's personality.
Moreover, the variety of options available today is staggering. From vintage-inspired toggle switches to sleek, modern touch panels, there’s something to suit every aesthetic. You can choose finishes that match your existing hardware, such as brass, chrome, or matte black, allowing for a seamless integration into your home’s design scheme. Not only do these switches look good, but many also come with added functionality, such as dimming capabilities or smart technology that can be controlled via smartphone apps, giving you more control over your lighting and energy usage.
Additionally, consider the safety aspect of upgrading your light switches. Older switches may not meet current electrical codes and can pose a risk of malfunction or even fire hazards. By replacing outdated switches, you’re not only enhancing the visual appeal of your home but also ensuring that your electrical system is up to date and safe for your family. This upgrade can provide peace of mind, knowing that your home is both stylish and secure.
Choosing the Right Style
Before you get your hands dirty, it’s essential to choose the right style for your light switches. This decision can set the tone for the entire room. Here are a few styles to consider:
1. Classic and Timeless
If your home has a traditional vibe, look for switches that feature ornate designs or vintage finishes. Think about materials like aged brass or antique bronze that evoke a sense of history and craftsmanship. These options can beautifully complement classic decor and add a touch of elegance. Additionally, consider the placement of these switches; they can be strategically positioned alongside other vintage elements, such as crown moldings or ornate light fixtures, to create a cohesive look that transports you back in time.
2. Modern and Minimalist
For those who lean towards a contemporary aesthetic, sleek and simple switches are the way to go. Look for options in matte black or white, with clean lines and a minimalist design. These can create a sophisticated, understated look that works well in modern spaces. To enhance this style, consider pairing your switches with smart home technology, which not only adds functionality but also aligns perfectly with a minimalist philosophy by reducing clutter and streamlining your environment.
3. Colorful and Bold
Feeling adventurous? Don’t shy away from color! Brightly colored switches can make a playful statement, especially in kids’ rooms or creative spaces. Just make sure they harmonize with the rest of your color palette to keep things cohesive. You might also explore unique shapes or textures that can further accentuate the playful nature of these switches, such as rounded edges or tactile finishes that invite interaction and spark curiosity.
Gathering Your Supplies
Alright, you’ve picked your style—now it’s time to gather your supplies. Here’s what you’ll need for this project:
- New light switches
- Flathead and Phillips screwdrivers
- Voltage tester
- Wire stripper (if necessary)
- Electrical tape
- Safety goggles
Make sure you have everything on hand before you start. Trust me, nothing kills the vibe like having to run to the hardware store mid-project!
In addition to the basic tools listed, consider having a few extra items nearby that can make the process smoother. A small flashlight can be invaluable, especially if you’re working in dimly lit areas or behind furniture. A pair of pliers can also come in handy for gripping and twisting wires, ensuring a secure connection. If you’re planning to install multiple switches, organizing your workspace with a small tray or container for screws and small parts can save you from scrambling to find them later.
Don’t forget to double-check your electrical supply before diving in. It’s essential to ensure that the power is turned off at the circuit breaker to avoid any accidents. If you’re unsure about the wiring or the electrical load your new switches can handle, consulting with a professional or doing a bit of research online can provide peace of mind and help you avoid potential hazards. Safety should always be your top priority, so take the time to prepare adequately before you start your project!
Safety First: Turning Off the Power
Before diving into the installation, safety is key. Always turn off the power to the switch at the circuit breaker. This step is non-negotiable. Use a voltage tester to double-check that the power is off. You don’t want any surprises while you’re working!
In addition to turning off the power, it’s wise to inform anyone in your household about the ongoing project. Letting others know that you’re working on electrical installations can prevent accidental interruptions or, worse, someone unknowingly flipping the circuit back on. It’s also a good idea to keep pets and children away from the work area to avoid any accidents. Safety gear, such as gloves and goggles, can provide extra protection, ensuring that you are well-prepared for any unforeseen circumstances.
Furthermore, consider documenting your circuit breaker panel. Labeling each switch with its corresponding room or appliance can save you time and confusion in the future. If you ever need to turn the power back on for any reason, having a clear understanding of what each switch controls will make the process much smoother. This proactive approach not only enhances safety but also contributes to a more organized and efficient home electrical system.
Removing the Old Switch
Now that you’re all set up, let’s get to work. Here’s how to remove that old switch:
- Unscrew the switch plate cover and set it aside.
- Use your screwdriver to remove the screws holding the switch in place.
- Gently pull the switch out from the wall, being careful not to damage any wires.
- Take a picture of the wiring setup for reference. This will be super helpful when you’re installing the new switch.
Keep in mind, if you see any frayed wires or damage, it might be worth consulting a professional. Better safe than sorry!
Wiring the New Switch
With the old switch out, it’s time to wire in the new one. Here’s how:
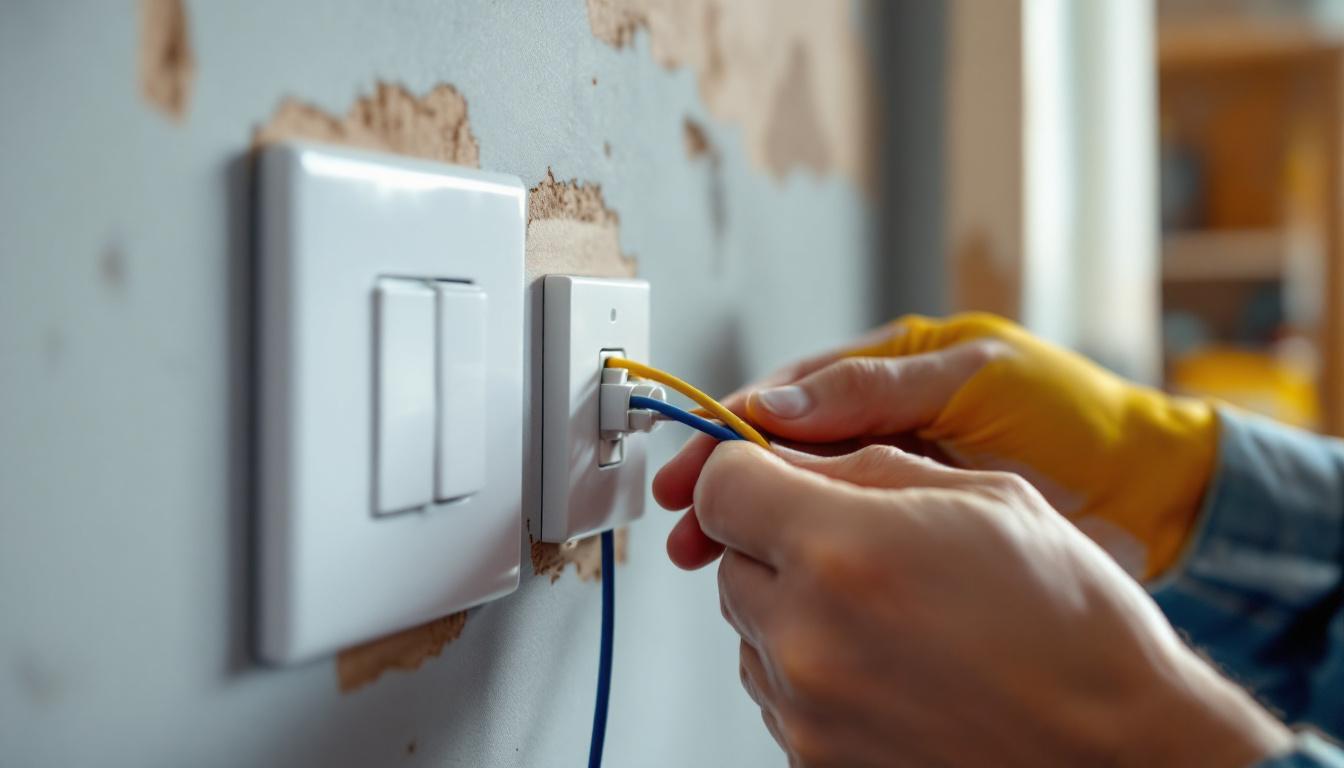
- Refer to the picture you took earlier and connect the wires to the new switch. Typically, you’ll have a black (or red) wire for the power, a white wire for the neutral, and a green or bare wire for ground.
- Use a wire stripper to remove any insulation if needed, and connect the wires securely to the new switch. Make sure they’re nice and tight to avoid any electrical issues.
- Wrap electrical tape around the connections for added safety.
Once the wiring is done, gently push the switch back into the wall and secure it with screws. Then, replace the switch plate cover. Voila! You’ve just upgraded your light switch.
Finishing Touches
Now that the switch is installed, it’s time for the finishing touches. Here are a few ideas to enhance the overall look:
1. Switch Plates that Wow
Consider pairing your new switch with a stylish switch plate. There are so many options available—from sleek metal finishes to intricate designs—that can elevate the look even further. Choose a plate that complements your switch style for a cohesive appearance.
2. Lighting Matters
Don’t forget about the light fixtures themselves! Upgrading your switches is a great opportunity to reassess your lighting. Consider adding dimmers or smart switches to enhance functionality and create the perfect ambiance.
3. Create a Cohesive Look
If you’re upgrading multiple switches throughout your home, try to maintain a consistent style. This creates a harmonious flow and makes your space feel more curated. Whether you choose vintage, modern, or colorful options, consistency is key.
Maintaining Your Upgraded Switches
Once you’ve completed your upgrade, it’s essential to keep your switches looking fresh. Here are some quick maintenance tips:
- Regularly dust the switch plates to keep them clean.
- Check for any signs of wear or damage, especially if you have little ones or pets.
- Consider using a gentle cleaner to keep the finish looking new—just be sure it’s safe for the material!
By taking a little time to maintain your switches, you’ll ensure they continue to look fabulous for years to come.
Final Thoughts
Upgrading light switches may seem like a small task, but it can have a big impact on your home’s overall design. It’s an easy way to inject personality and style into your space without a complete renovation. Plus, it’s a fun project that can be done in just a few hours!
So, whether you’re going for classic elegance, modern minimalism, or a pop of color, take the plunge and transform those ordinary switches into extraordinary features. Your home deserves it!
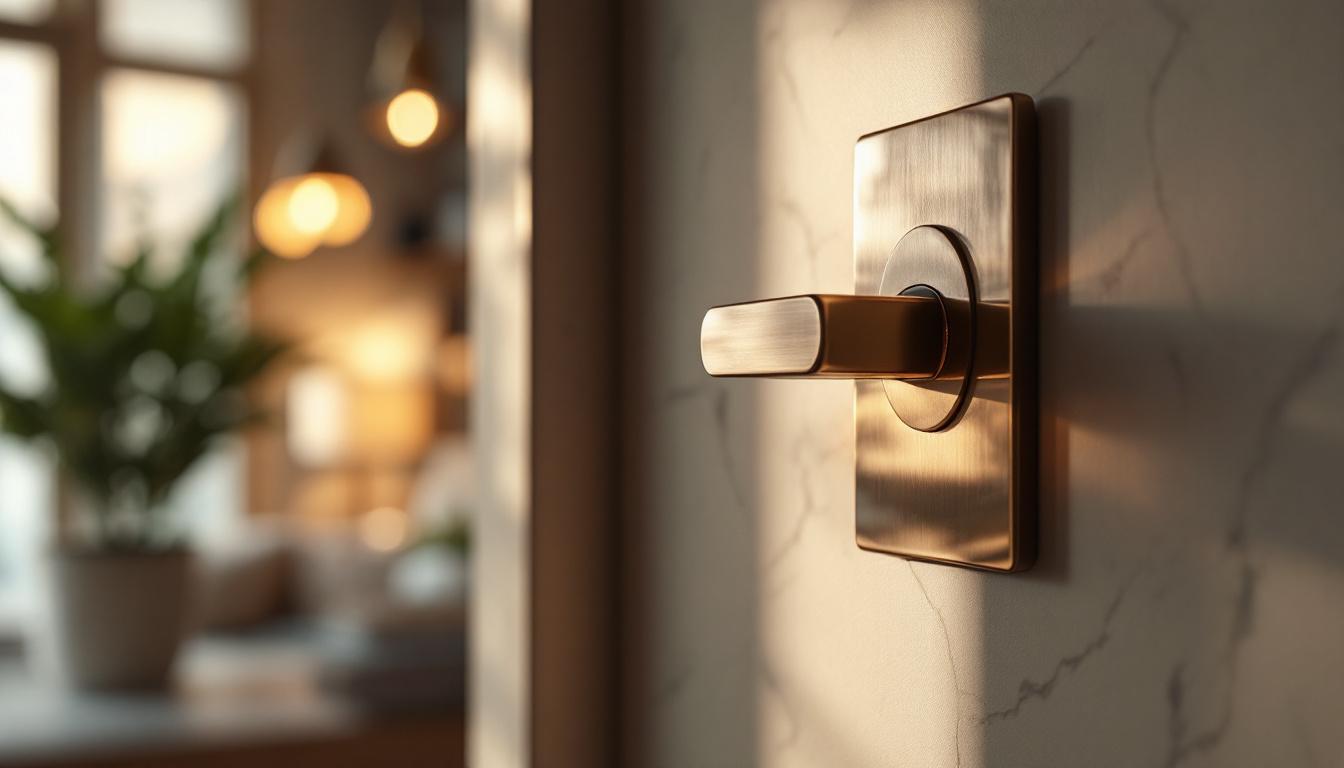
Discover Timeless Elegance with Residence Supply
Ready to infuse your historical home with a touch of timeless elegance? At Residence Supply, our handcrafted light switches are more than just functional—they're a statement of luxury and heritage. Elevate your space with our exquisite collection of chandeliers, wall lamps, stair lights, and more, each piece meticulously designed to complement the grandeur of your home. Shop Now and transform your living space into a bespoke work of art that stands the test of time.