Table of Contents
How To Clean A Crystal Chandelier: A Step-By-Step Guide

Megan Reed |
There's something undeniably enchanting about a crystal chandelier. It can transform a room, casting beautiful reflections and creating an atmosphere of elegance and warmth. However, like any stunning piece of art, it requires care and maintenance to keep it looking its best. Over time, dust and grime can dull its sparkle, making it seem less inviting. Fortunately, cleaning a crystal chandelier is a straightforward task that anyone can tackle with a bit of patience and the right approach. Let’s dive into how we can restore that dazzling shine!
Gathering Your Supplies
Before embarking on this cleaning journey, it’s essential to gather all the necessary supplies. Having everything on hand will make the process smoother and more efficient. Here’s what we’ll need:
- Soft, lint-free cloths or microfiber cloths
- A gentle glass cleaner or a mixture of warm water and mild dish soap
- A ladder or sturdy step stool (if needed)
- A soft brush (like a paintbrush or makeup brush) for delicate areas
- Rubber gloves to protect your hands
- A drop cloth or towel to catch drips
By preparing these items in advance, we can ensure that our cleaning session is both effective and enjoyable. It’s also a good idea to consider the specific surfaces you’ll be cleaning. For instance, if you’re tackling windows, you might want to invest in a squeegee to achieve that streak-free shine. Additionally, if you have pets, a lint roller can be a handy tool for removing any fur that may have settled on surfaces before you begin your deep clean.
Moreover, think about the environment in which you’ll be working. If you’re cleaning high windows or hard-to-reach areas, ensure that your ladder or step stool is stable and positioned on a flat surface. Safety should always be a priority, so take your time and don’t hesitate to ask for help if you need it. With the right supplies and a safe setup, you’ll be well on your way to transforming your space into a sparkling clean haven.
Safety First: Preparing to Clean
Cleaning a chandelier can be a bit daunting, especially if it’s hanging high above. Safety should always be our top priority. Here are some tips to keep in mind:
- Turn Off the Power: Before starting, make sure to turn off the power to the chandelier at the circuit breaker. This prevents any accidents while cleaning.
- Use a Stable Ladder: If your chandelier is out of reach, use a sturdy ladder. Ensure it’s placed on a flat surface and have someone nearby to help if needed.
- Protect Your Surroundings: Lay down a drop cloth or towel beneath the chandelier to catch any drips or debris. This will save your floor from potential damage.
With safety precautions in place, we can proceed with confidence! It's also wise to wear gloves while cleaning to protect your hands from any harsh chemicals or dust that may be present. Depending on the material of your chandelier, using a gentle, non-abrasive cleaner can help maintain its shine without causing damage. Additionally, consider wearing safety goggles to shield your eyes from any falling debris or cleaning solution splashes.
Furthermore, if your chandelier has intricate designs or delicate crystals, take extra care when handling them. A soft microfiber cloth is ideal for dusting, as it traps particles without scratching surfaces. For those hard-to-reach areas, a small paintbrush can be a handy tool to gently dislodge dust without disturbing the overall structure. Remember, taking your time and being thorough in your cleaning process will not only enhance the beauty of the chandelier but also prolong its lifespan.
Step-by-Step Cleaning Process
Now that we’ve prepared our space and gathered our supplies, let’s get to the heart of the matter: cleaning the chandelier. Follow these steps for a thorough and effective clean:
1. Dusting the Chandelier
Start by gently dusting the chandelier. Use a soft brush or a microfiber cloth to wipe away dust from the crystals and arms. This step is crucial as it removes any loose particles that could scratch the surface during the wet cleaning process.
For intricate designs or hard-to-reach areas, a soft brush can be particularly helpful. Remember to dust from top to bottom to avoid redistributing dust onto clean areas. Additionally, consider using a vacuum cleaner with a brush attachment for a more thorough dusting, especially if your chandelier has a lot of nooks and crannies that tend to collect dust. This method not only saves time but also ensures that you capture as much dirt and debris as possible before moving on to the wet cleaning phase.
2. Creating Your Cleaning Solution
Next, we need to prepare our cleaning solution. If using a commercial glass cleaner, ensure it’s a gentle formula. Alternatively, mix warm water with a few drops of mild dish soap. This natural solution is effective and safe for most crystal chandeliers.
Once your solution is ready, dampen a lint-free cloth in the mixture. Be careful not to soak the cloth too much; we want it damp, not dripping wet. Excess water can damage the electrical components of the chandelier. If you prefer an eco-friendly approach, you can also add a splash of white vinegar to the solution, which not only helps cut through grime but also adds a streak-free shine to the crystals. Just be sure to test this mixture on a small, inconspicuous area first to ensure it won’t harm the finish.
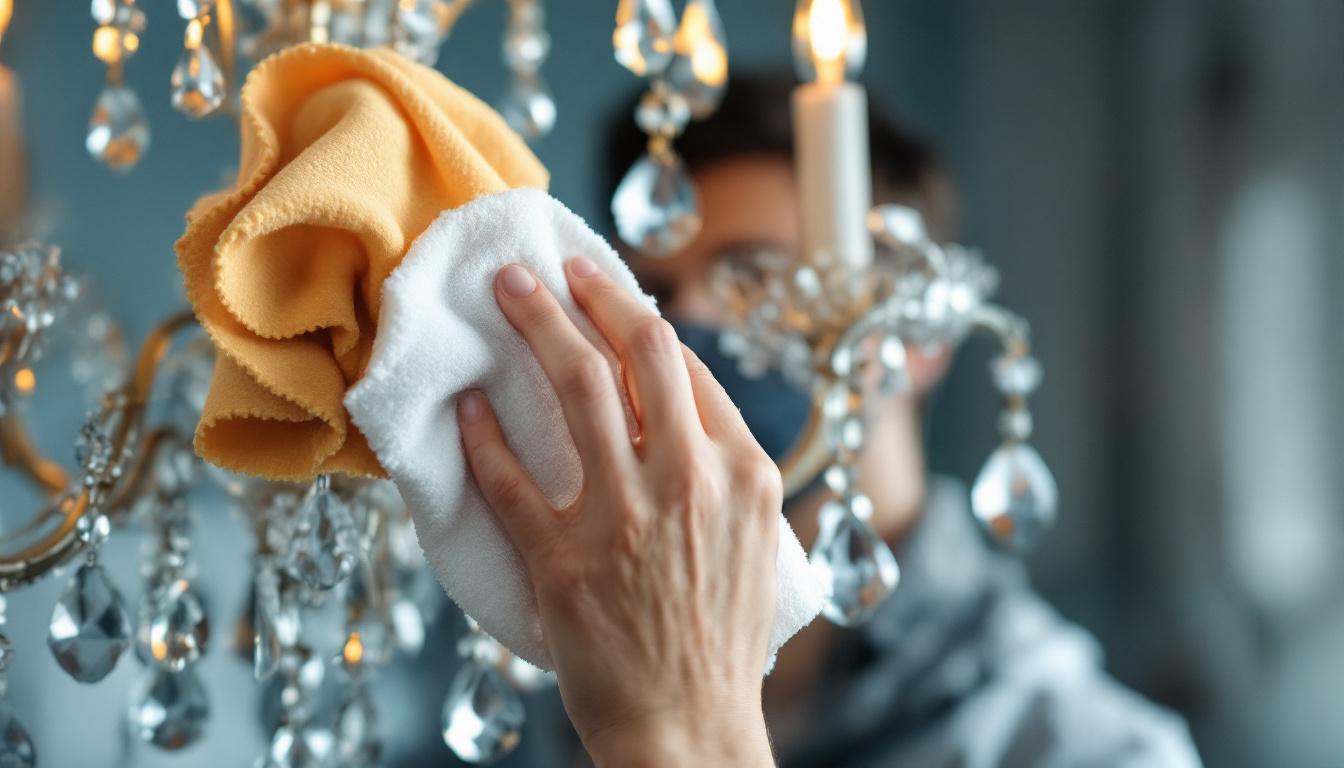
3. Wiping Down the Crystals
Now comes the fun part! Start wiping down each crystal with the damp cloth. Work from the top of the chandelier downwards, ensuring that each piece is cleaned thoroughly. For larger crystals, you may need to use both hands to support the piece while cleaning.
For smaller crystals or intricate designs, a soft brush can help reach delicate areas. Take your time with this step; the goal is to restore the chandelier's brilliance without damaging any parts. If you encounter stubborn spots or residue, consider using a cotton swab dipped in your cleaning solution to gently scrub those areas. This technique allows you to maintain precision and avoid oversaturating the crystals. As you clean, you may also want to take a moment to inspect each crystal for any signs of damage or wear, as this can help you address any issues before they escalate, ensuring your chandelier remains a stunning centerpiece for years to come.
Finishing Touches
After cleaning the crystals, it’s time to add the finishing touches to ensure a sparkling result. Here’s how:
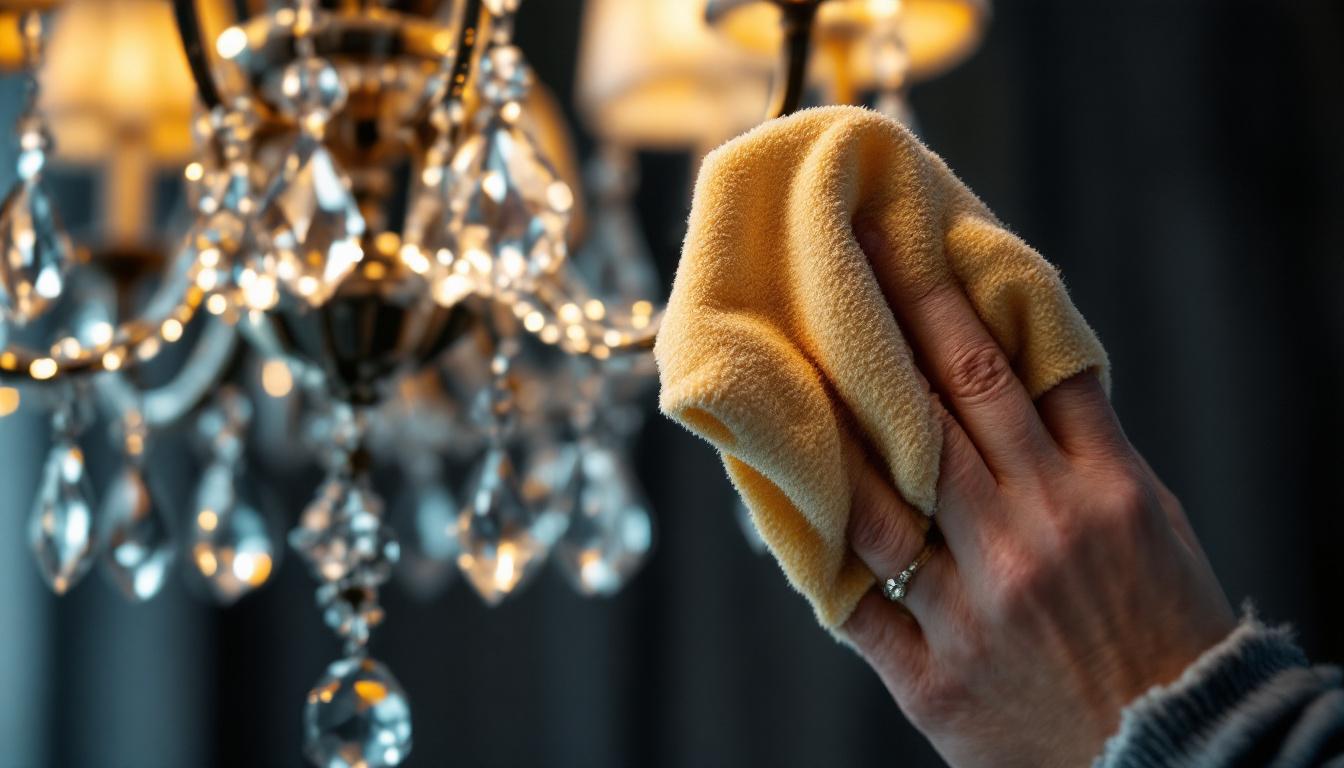
1. Drying the Crystals
Once you’ve wiped down all the crystals, it’s important to dry them properly. Use a clean, dry microfiber cloth to gently buff each crystal. This step helps eliminate any streaks and enhances the shine.
For any remaining moisture, allow the chandelier to air dry for a few minutes before turning the power back on. This ensures that no water remains trapped in the electrical components.
2. Inspecting for Damage
While cleaning, take a moment to inspect the chandelier for any signs of damage. Look for loose crystals, frayed wires, or any other issues that may need attention. Addressing these problems promptly can prevent further damage and ensure the longevity of your beautiful fixture.
3. Replacing Bulbs (if necessary)
If you notice any burnt-out bulbs during your inspection, now is the perfect time to replace them. Choose bulbs that complement the chandelier’s design and provide the right amount of light for your space.
Maintaining Your Crystal Chandelier
Cleaning your chandelier is just one part of keeping it beautiful. Regular maintenance can help prolong its life and keep it sparkling. Here are some tips to maintain your chandelier:
1. Regular Dusting
Make it a habit to dust your chandelier every few weeks. A quick dusting will prevent dirt buildup and make deep cleaning less daunting. Use a soft brush or a microfiber cloth to keep it looking fresh.
2. Schedule Deep Cleans
Consider scheduling a deep clean every six months or so, depending on the environment. If you live in a dusty area or have pets, you may need to clean more frequently. Regular attention will ensure your chandelier remains a stunning focal point in your home.
3. Be Mindful of the Environment
Keep in mind that factors like humidity and smoke can affect the cleanliness of your chandelier. If your home has high humidity, consider using a dehumidifier. Additionally, avoid placing the chandelier near sources of smoke, such as kitchens or fireplaces, to minimize residue buildup.
When to Call a Professional
While many homeowners can handle cleaning their chandeliers, there are times when it’s best to call in a professional. If your chandelier is particularly large, intricate, or located in a hard-to-reach area, a professional cleaning service can ensure it’s cleaned safely and effectively.

Additionally, if you notice any electrical issues or damage during your inspection, it’s crucial to consult a qualified electrician. Safety should always come first, and professionals have the expertise to handle any repairs or maintenance needed.
Conclusion
Cleaning a crystal chandelier may seem like a daunting task, but with the right approach and a little patience, it can be a rewarding experience. By following these steps, we can ensure that our chandelier remains a stunning centerpiece in our home, reflecting light and beauty for years to come.
Remember, a well-maintained chandelier not only enhances the aesthetic of a room but also tells a story of elegance and care. So, gather your supplies, take your time, and enjoy the process of bringing back that dazzling shine!
Illuminate Your Space with Elegance
Now that your crystal chandelier is gleaming with radiance, why not explore more ways to enhance the charm of your historical home? At Residence Supply, we offer an exquisite selection of handcrafted lighting fixtures that embody the spirit of old-world artisanship. From wall lamps that add a subtle glow to stair lights that guide your steps with grace, our collection is curated to bring timeless elegance into your living space. Shop Now and discover the perfect blend of artistry and functionality for your home.